Visit Our Online Store :

24/7 Free Online Support all over India | Guranteed Lowest Price | All over India Shipping
Digital Voice Recorder Manual Please read carefully before using the voice recorder, most problems can be avoided
Digital voice recorder
Warm Tips
Digital voice recorder
safety.
Digital voice recorder | Catalog | Product information | Operation instructions.
Turn on | Turn off. | Playback.. | File transfer.... | Recharge.. | Device setting up. | Time stamp.... | General troubleshooting | Notices. | Q&A..
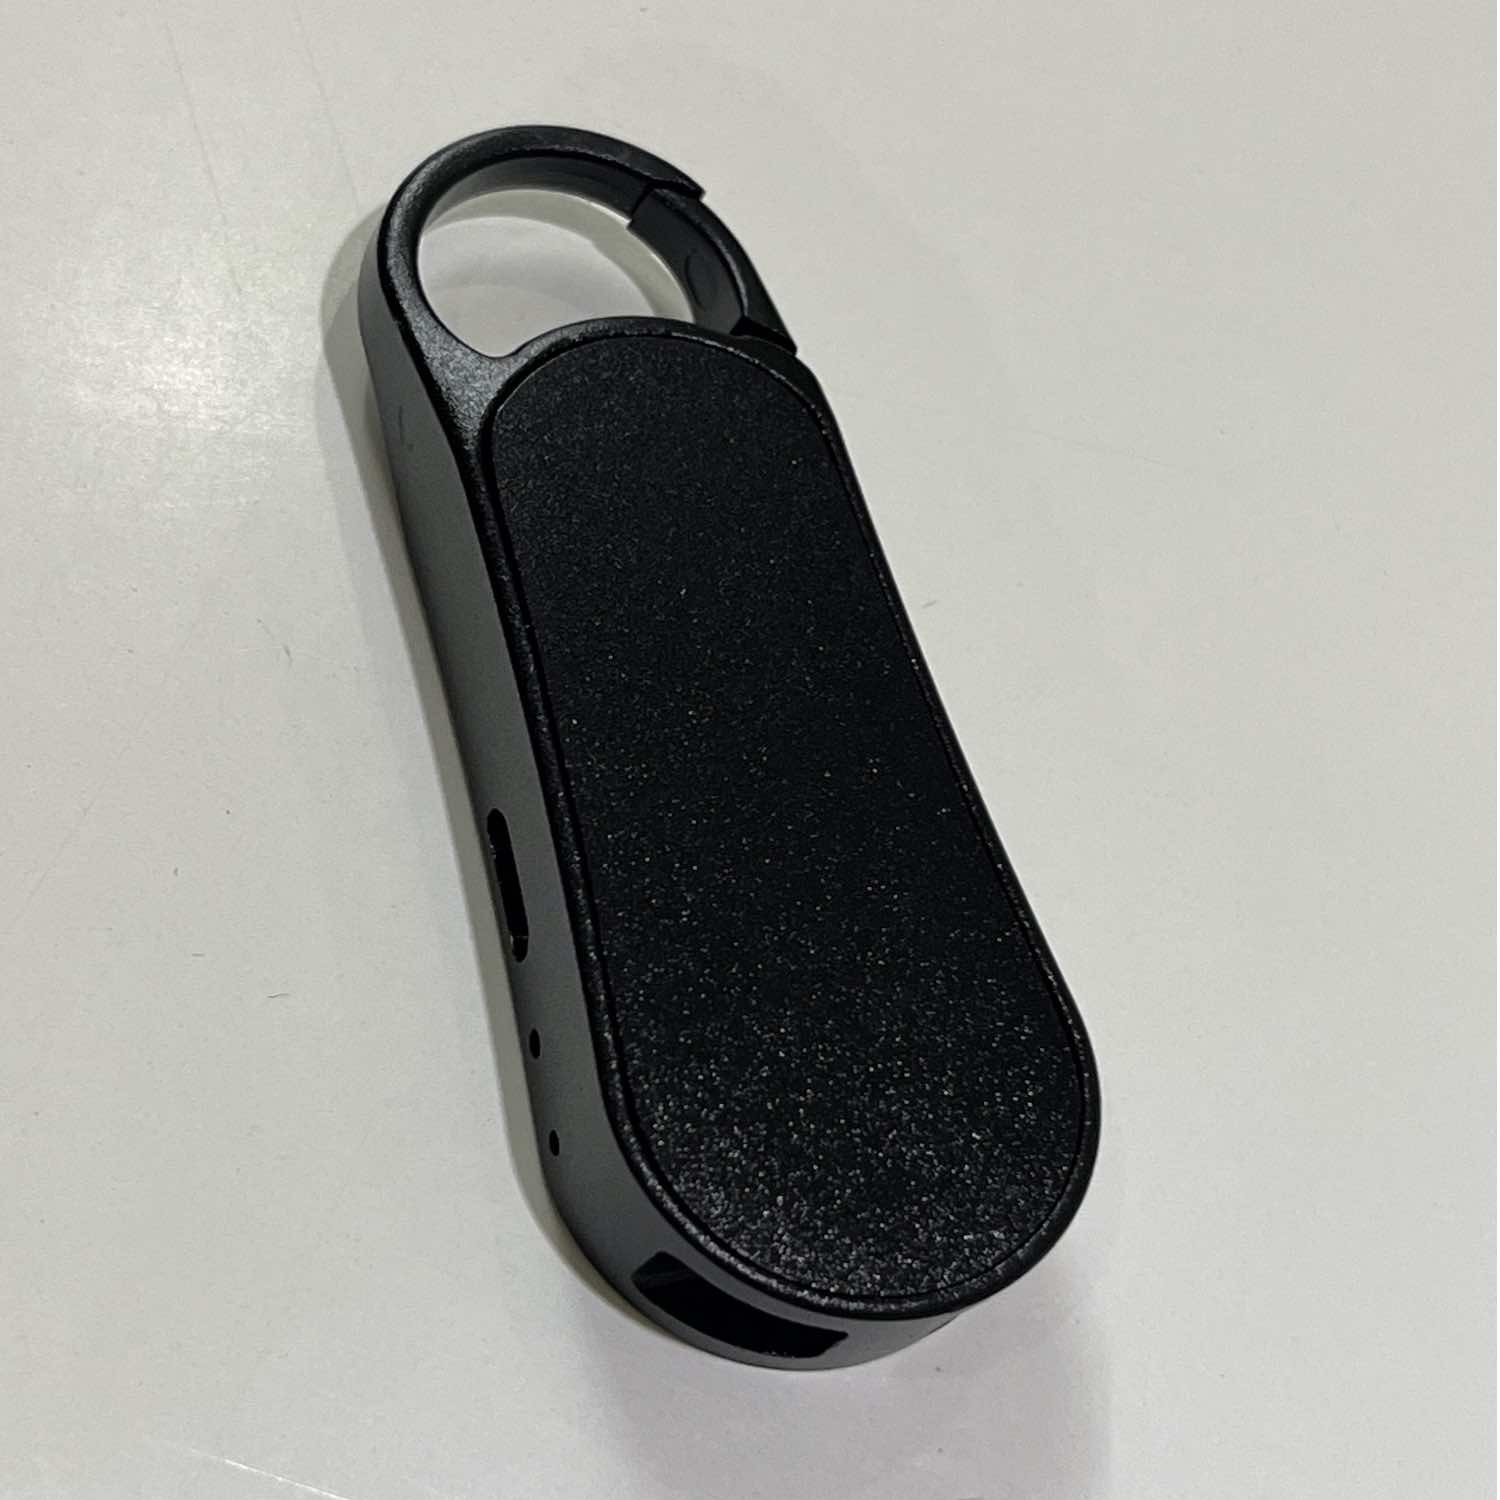
Tips : This pictures just for reference, the specification of the product is subject to the real object. USB interface/Line control earphone
Digital voice recorder
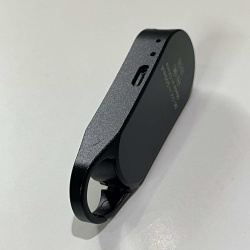
jack: connect to the computer, transfer files, connect the line control earphone cable. (Note:The device can only be connected to the computer when it is turned off, otherwise it will fail to connect to the computer, which is a normal phenomenon)
2. Reset hole
3. Indicator light :
Digital voice recorder
10 seconds and then automatically shut down
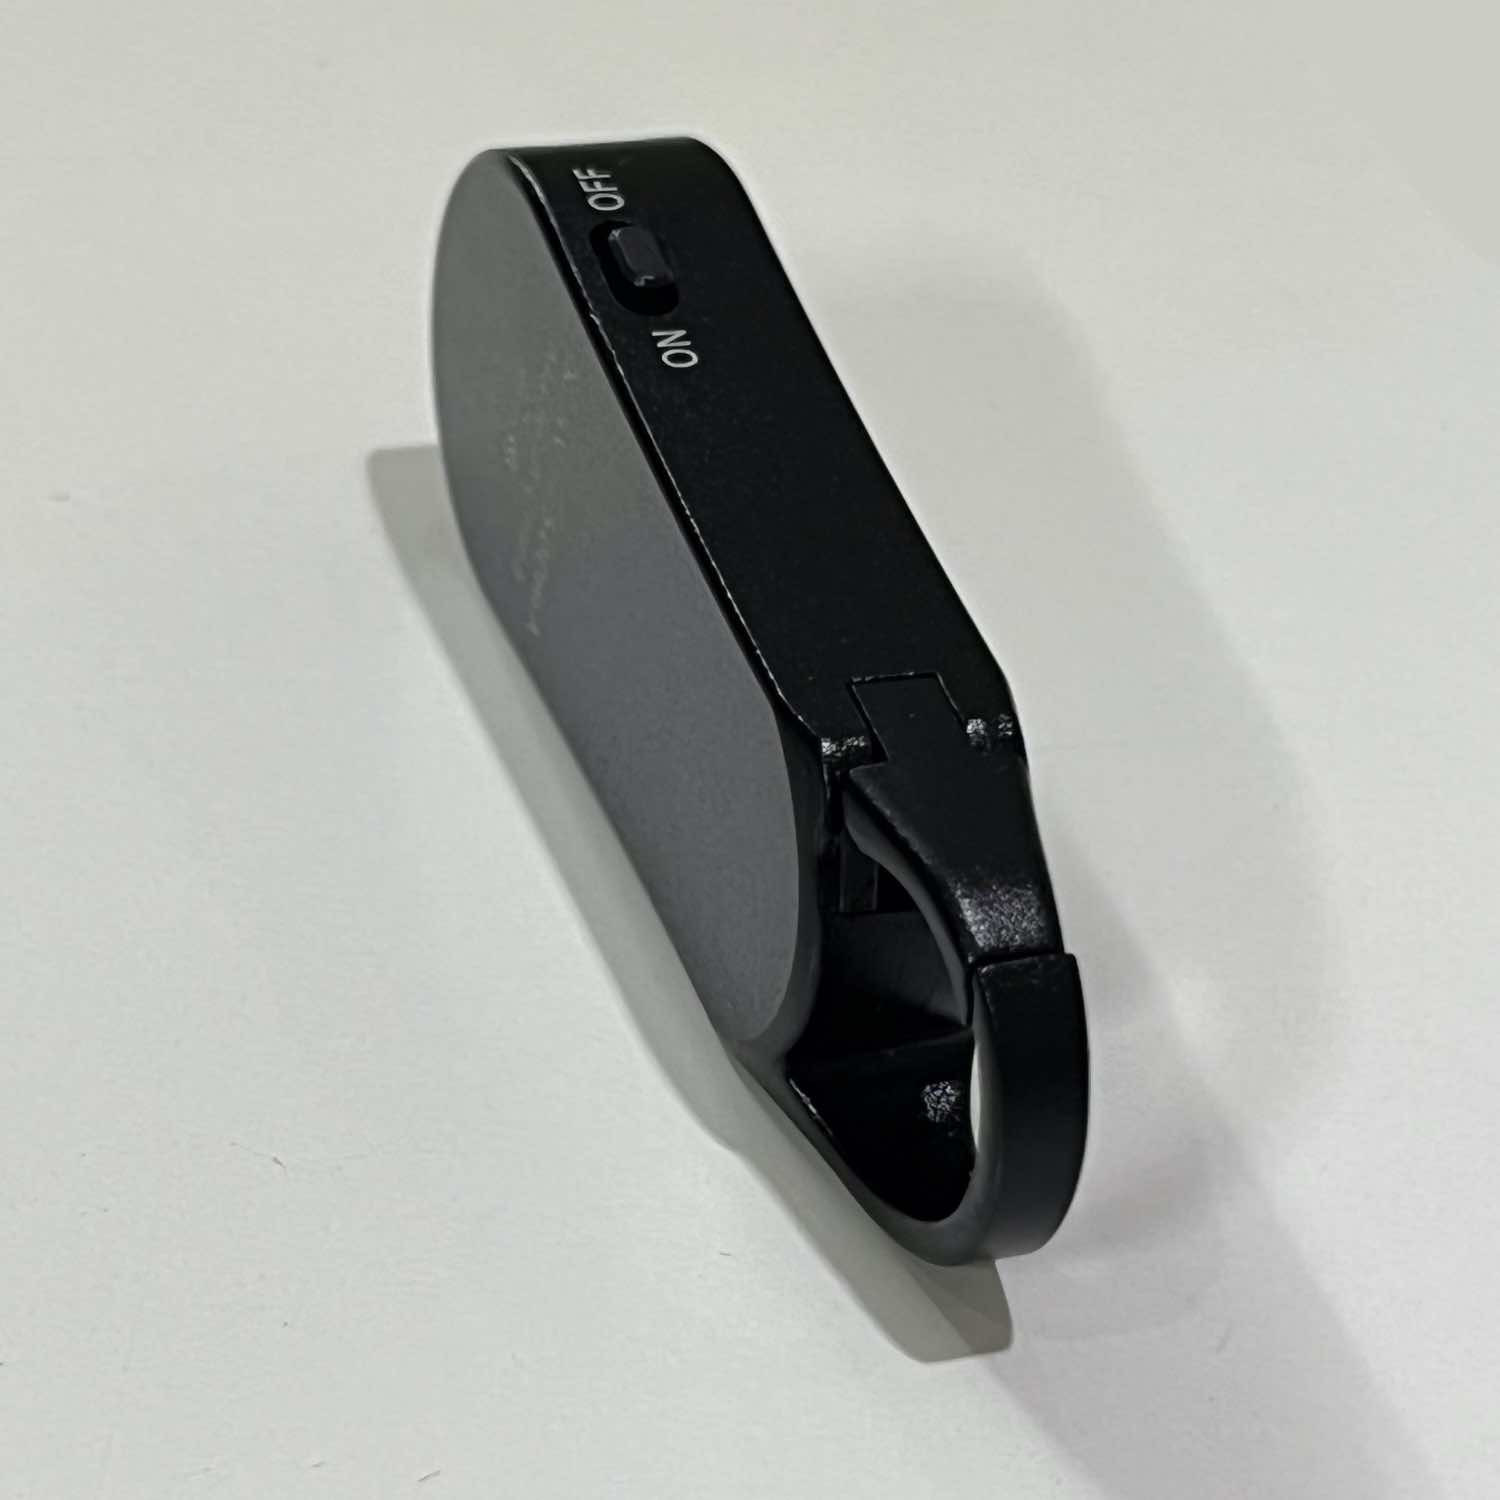
4. Key ring
Digital voice recorder
Operation instructions :
©The short press in this manual is about 1 second, and the long press is about 3 seconds. @The interval between two short presses is at least 2 seconds, otherwise the short press is invalid.
1. Turn on Start Recording : When the headphone is not plugged in, and the switch was on the "OFF". Toggle the switch to the "ON" to turn on the recorder and start to recording (the indicator light turns from purple light to red light and flashes 3 times) [Warm Tips: When recording, it is recommended keeping a distance of more than 5-10 feet from the microphone to avoid blasting sound.]
2.Turn Off to Save Recording : In the recording or playback, toggle the switch to the "OFF " (the purple light flashes once and turns off) to save the recording and shut down. @In recording state, insert the wire-controlled headset to automatically save the current recording file and play it. @When recording exceeds 1 hour, it will be automatically saved as a file every hour to avoid excessive file loss. ©When the battery is low, the machine automatically saves the recording and automatically shuts down.
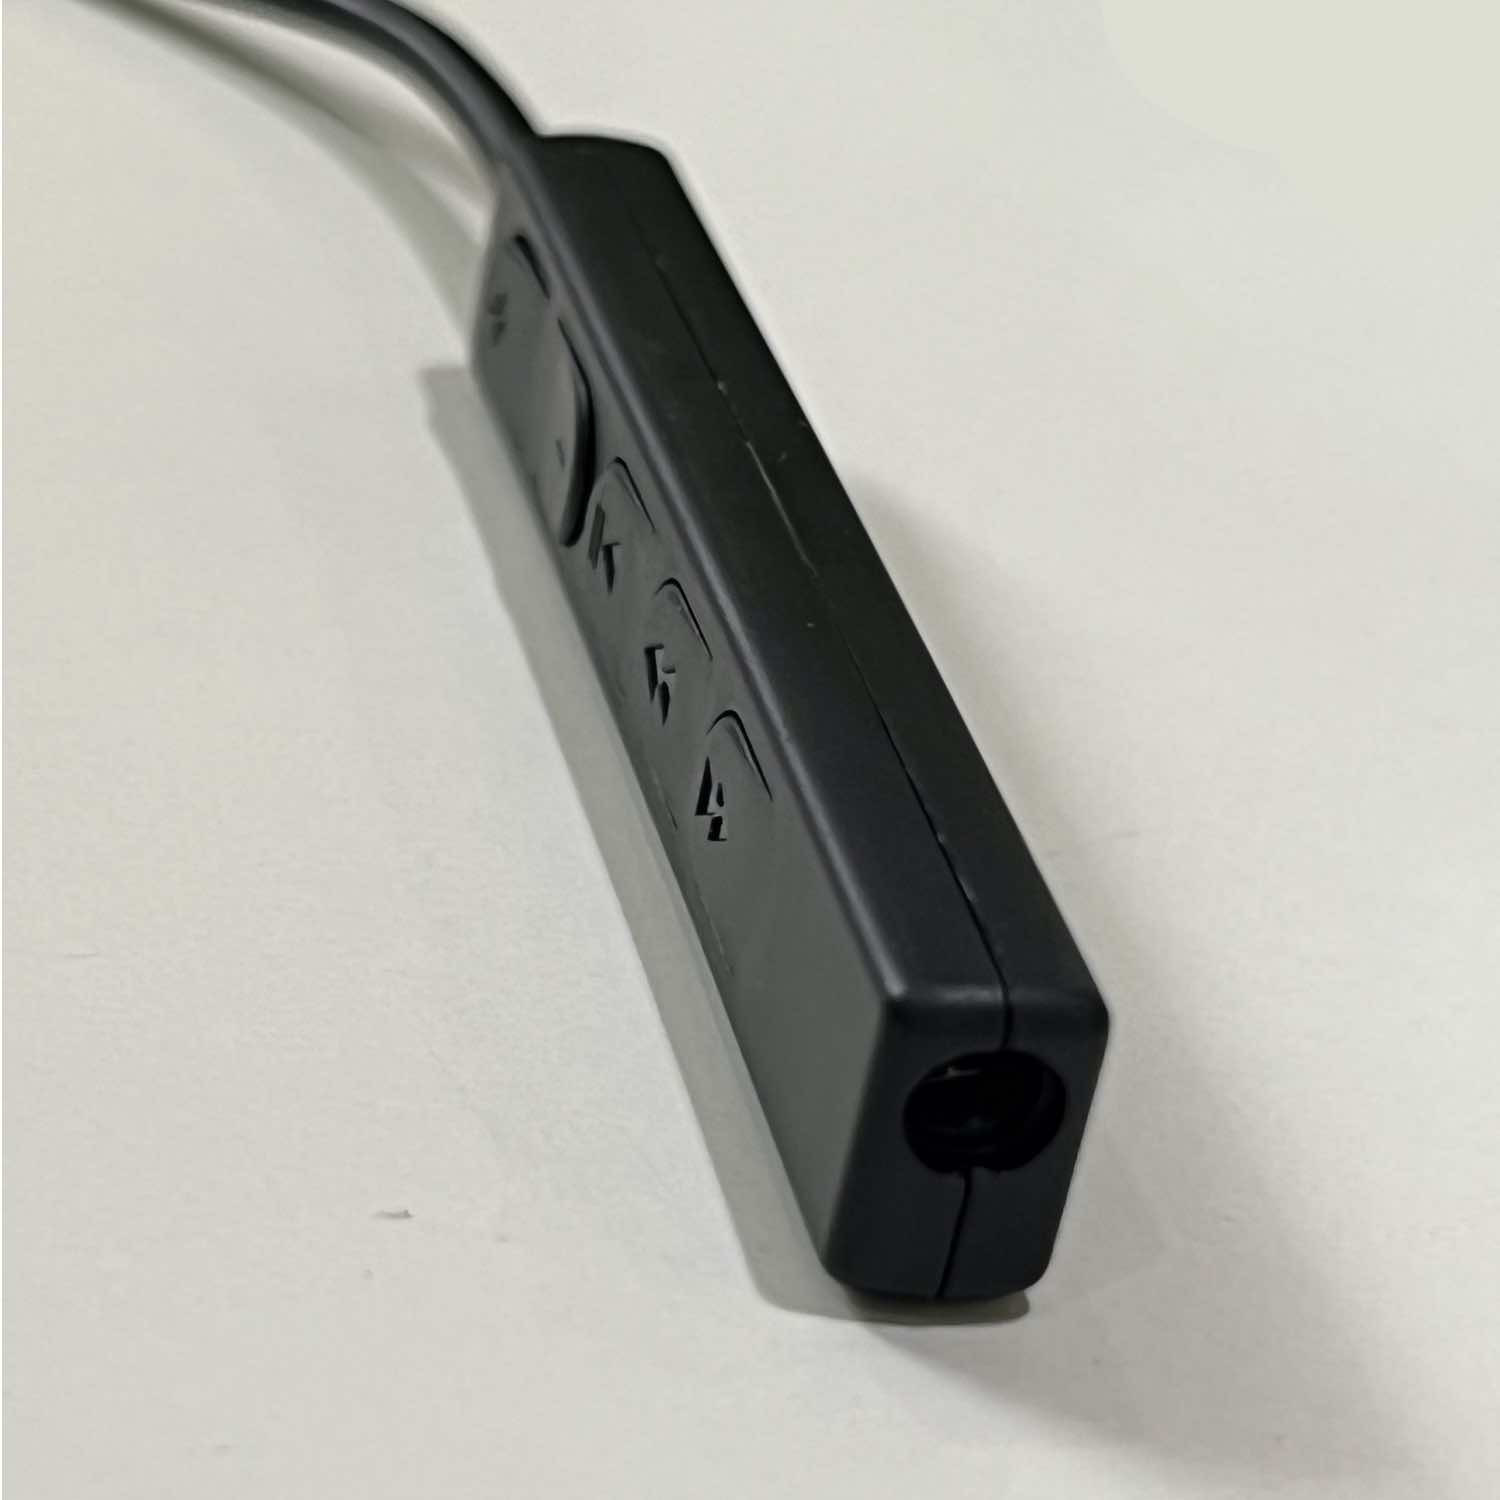
3.Playback the voice : @With computer: Use the USB cable to connect the recorder to the computer(Note:ensure the switch in the "OFF"),a moment later, open the "USB DISK" and enter "RECORD", select the file you want to play. [Tips: The recording file format is' "WAV". If the player on your computer does not play the wav files, please download another player, such as Windows Media Player.] @With earphone: In the shutdown state, plug in the line control first, then plug in the earphones, and then push the "power" button upwards, the machine will turn on and automatically play the current recording file (flashing blue).
File transfer : Connects the recorder to the computer by USB cable (Ensure the switch in the "OFF"), a moment later, the computer will recognize it, find "USB DISK" " enter the "RECORD" folder, select files for management. E00 2 Disk Recharge Insert one end of the USB cable into the USB port of the recorder, and the other end into the USB port of the charger. The indicator light flashes red when charging, and the charging time is generally about 2 hours to fully charge. When the blue light is on, it means the battery is fully charged. Device setting up
Time stamp : Windows: Ensure the switch in the "OFF" connect the recorder to a computer, enter the "USB DISK",Open the "RECORD" folder run the " TIMESET.exe", Change the time number(Year-month-day, hour, minute,second) and save, So the time of the recorder is synchronized with a computer. Mac OS: Ensure the switch in the "OFF" connect the recorder to a computer, enter the "USB DISK" " run the TIMESET.exe" Open the "RECORD" folder,run the " TIMESET.exe", Change the time number(Year-month-day, hour, minute, second) and save, So the time of the recorder is synchronized with a computer.
Warm Tips : @For MAC users, please Google "MAC can't modify USB DISK" to get the specific method. Make sure to backup your files before formatting.) @Change any parameter, be sure to save the text, and it will take effect after restarting the recorder. Of the recorder is not charged with a long time, the time will be reset after the battery is exhausted, and the time needs to be reset.
Notices : Please back up important files in time. The company is not responsible for the loss or damage to personal data caused by operation of software, hardware, product maintenance, battery replacement or other unexpected situations, and is not responsible for it. Liability for other indirect losses caused by this. At the same time, we cannot guarantee the misunderstandings that users may cause in this manual. Therefore, the company will not be responsible for accidental damage that may occur during the use of this manual, and will not be responsible for third-party claims caused by the use of the product. The local system software will occupy a part of the capacity space, and it is normal that there is a slight difference from the nominal capacity. This product is only used for learning and training. Please strictly abide by the relevant local laws and do not do any illegal behaviors. The company does not make any commitments and responsibility for the consequences of illegal acts.
Q&A
Q: Why can some 16 GB recorders store 1000 hours of recordings. This bigger recorder can only store 750 hours of recording?
A: The default bit rate of this recorder is 192 Kbps, the higher sound quality is, the larger storage space occupied of course.
Q: Why is the actual storage space of this recorder not up to the advertised storage space?
A: All memory manufacturers in the world produce the memory according to 1000 MB = 1 GB, while the computer recognizes the recorder according to 1024 MB = 1 GB. At the same time, the system software also takes up part of the storage space, so the actual capacity is smaller than the nominal capacity. This problem exists in the memory of all electronic
Q: I lost my earphone and remote control. Where can I get a new one?
A: Don't worry about it, If your recorder has any problems or lost parts, please contact us in time, we will solve your problem in the first time.
Thank you for supporting our products!
After sales service: Order history - Seller - Ask a question
| : |